How to create a blog with Octopress
Octopress is a framework designed by Brandon Mathis for Jekyll, the blog aware static site generator powering Github Pages. To start blogging with Jekyll, you have to write your own HTML templates, CSS, Javascripts and set up your configuration. But with Octopress all that is already taken care of. Clone or fork Octopress, install dependencies and the theme, and you're set.
This is my first article on the blog. I have long wanted to write a post about languages or technologies that I’m working with. To start I wanted to build a blog from zero but It’s a huge work and I’m not very passionate about wrinting HTML5 and CSS3. Afterwards I hesitated between Wordpress and Drupal. At this moment, I wanted to use Wordpress
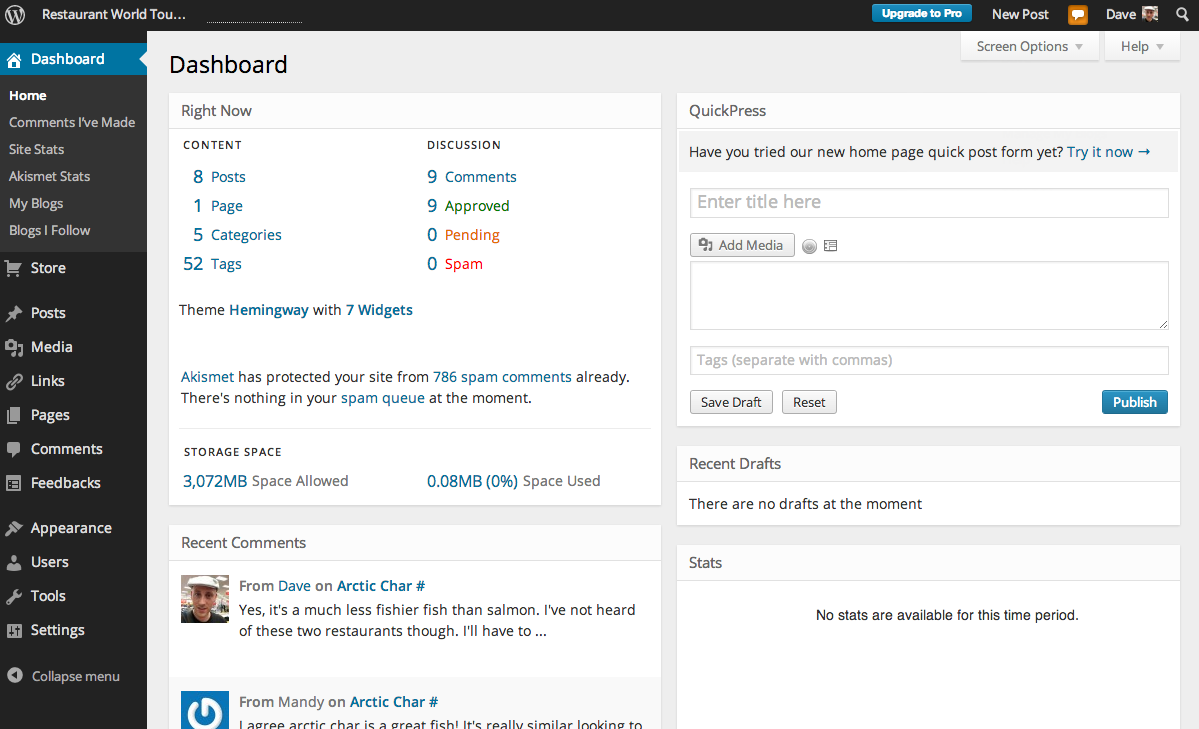
Wordpress
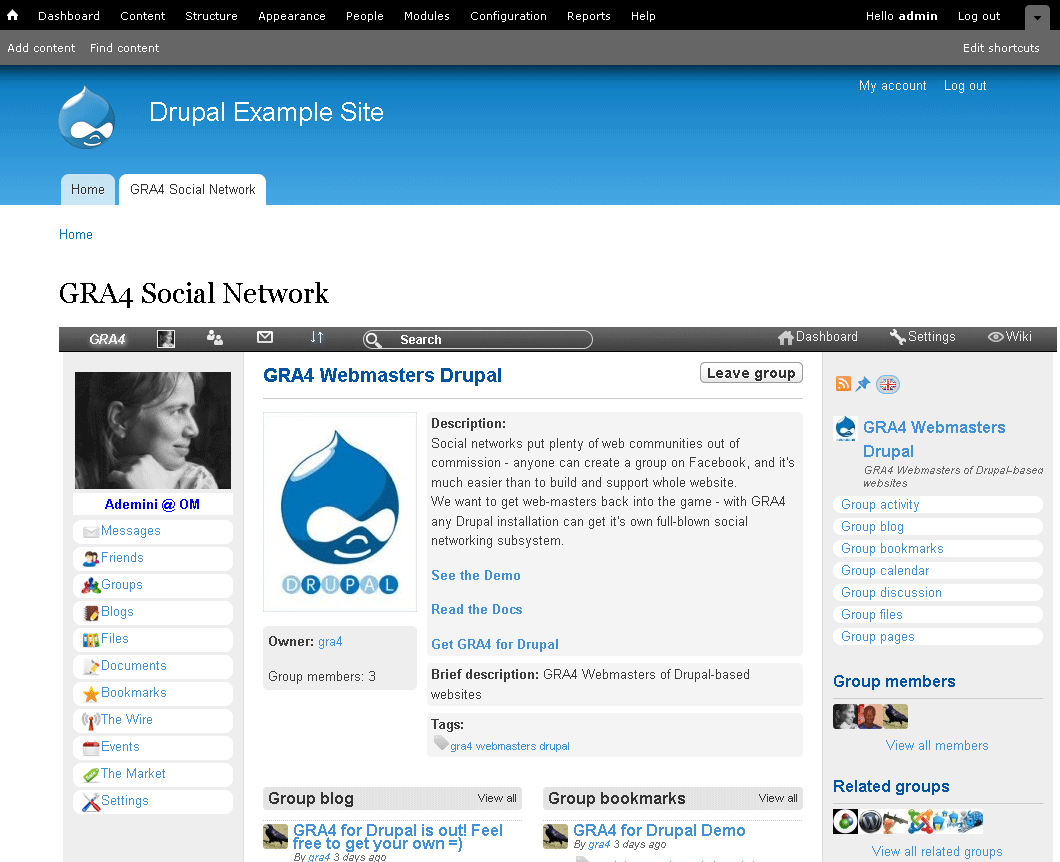
Drupal
This two CMS are a little bit heavy and the both need a database to save comments and posts, also if you want to change your server you need to copy your database and your file and make all your data migrate. This is a little bit annoying for me.
I use to read the blog of a French Android Developer Cyril Mottier. This blog was very minimalist and well built aesthetically, so I tried to find the technology he used to create it. I see that it was Octopress, a framework for Jekyll, which doesn’t need a database to save comments and post. It just need an account on Disqus for comments and there is a free hosting solution with GitHub and Heroku. So it seems to me the better solution.
I wrote this post to thank Octopress and to explain some tips that I learned, in order to help people who crave of having their own blog with Octopress :)
Setup and install
To use Octopress, you need Git and Ruby 1.9.3 or greater (I use ruby v2.0.0).
1 2 | |
Then you need to install some dependancies :
1 2 3 | |
Install the default Octopress Theme.
1
| |
Now you can test your fresh new blog :
1 2 | |
Theme and customization
With Octopress all the Magic is in the structure folder, you can use themes to change appareance of your blog using submodule in git repository. You can find on Google a huge amount of themes for Octopress.
1 2 3 4 5 6 7 8 9 10 11 | |
When you use another theme your source directory and your sass folder will be overwitten and don’t worry, your files will be saved ;). After changing the theme you have to regenerate your css file with rake generate. If you modify your _config.yml while your server is running, I advice you to restart your server to be sure that your config file is used.
In all your posts, pages, _config files you can add custom variables, then you can access it with post.YOURVAR or page.YOURVAR or site.YOURVAR, I think you got it ;)
As it use Ruby, you can use conditions, loops, and variables in your html and markdown files.
1 2 3 4 5 6 7 8 9 10 | |
Troublshooting
When you customize your scss files you can have some red warning containing “The selector ”…“ was not found”. This is not important you can ignore it or add “!optional” on the lines where the warning is raised.
The End
I hope this first post helped you :) If you have any questions or tips please leave a comment ;)