Manage actionbar might be very difficult when you want to have some custom behavior. If you want to change the color, the visibility or to add animations with a standard actionbar it can be done in a very simple, by following a few steps and by combining some tricks with the Otto library. Do not forget that this tutorial is made for applications using API 14+.
Setup Otto library
Otto is an event bus designed to decouple different parts of your application while still allowing them to communicate efficiently. Forked from Guava, Otto adds unique functionality to an already refined event bus as well as specializing it to the Android platform.
In fact Otto may be compared to the event bus in Objectiv-c. With it you can send a message, here the message is an object that is send to the method which has subscribed to the bus . Each method will be called if its context still exists. Your activity or your fragments have to register to the bus, if the activity or the fragments are still alive, the methods which subscribe will be called but if the fragments or the activity are not visible, the message will be lost and there will be no NPE. After this we have finish the boring part and we can go to the fun one :)
The first thing to do is to add Otto library to your build.gradle
1
compile 'com.squareup:otto:+'
Next, you will have to create a new class for override Application class
1234567891011121314151617
publicclassAppextendsApplication{privatestaticBusbus;@OverridepublicvoidonCreate(){super.onCreate();bus=newBus();// Instantiate a new Bus}publicstaticBusgetBus(){returnbus;}}
Do not forget to specify that your application has to use this new class as main application.
123456789101112131415161718192021222324
<?xml version="1.0" encoding="utf-8"?><manifestxmlns:android="http://schemas.android.com/apk/res/android"package="com.example.application"><applicationandroid:allowBackup="true"android:icon="@drawable/ic_launcher"android:label="@string/app_name"android:theme="@style/AppTheme"android:name=".app.App"><!-- This line specify that we have to use the new class --><activityandroid:name=".ui.activity.MainActivity"android:label="@string/app_name"android:windowSoftInputMode="adjustPan"android:screenOrientation="portrait"><intent-filter><actionandroid:name="android.intent.action.MAIN"/><categoryandroid:name="android.intent.category.LAUNCHER"/></intent-filter></activity></application></manifest>
Now you can use the new Bus instance. In your activity/fragment you can register, post events and subscribe, the only thing you need to create is a custom actionbar. On Otto you can find another annotations like: @Produce but you don’t need it for this tutorial ;)
Fragments and views
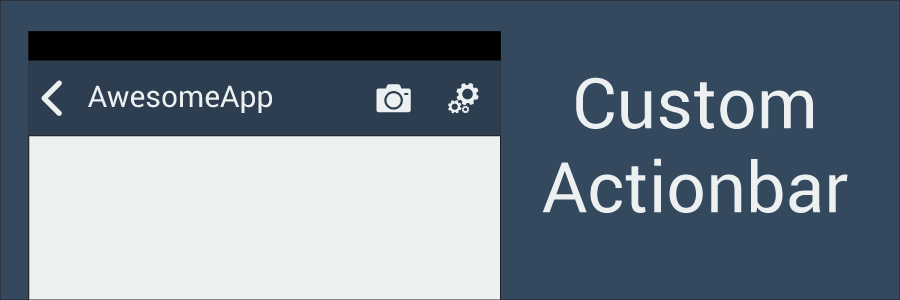
First, we need to create a custom view for the actionbar with its layout. It will be a Relativelayout with several Imageviews and a textview for title. This is the view_actionbar.xml
We have a great layout for the actionbar, you can add whatever you want (and remember that this is just an example ;). Now we can create the class that inherits from RelativeLayout which has this layout.
Now you have a complete custom view and you can customize the custom actionbar as you like it. Next, you have to use this layout, in the main layout, above the framelayout that contains all your fragments.
In Android Studio you can see, on the right, an actionbar, just above the main framelayout. Now there are two more steps to follow and this will be done ;) You have to put this layout in your main activity and you have to connect the actionbar to the activity.
publicclassMainActivityextendsActivity{@OverrideprotectedvoidonCreate(BundlesavedInstanceState){super.onCreate(savedInstanceState);setContentView(R.layout.activity_main);}@OverrideprotectedvoidonStart(){super.onStart();App.getBus().register(this);// Here we register this activity in bus.}@OverrideprotectedvoidonDestroy(){super.onDestroy();App.getBus().unregister(this);// Here we unregister this acitivity from the bus.}@OverridepublicbooleanonCreateOptionsMenu(Menumenu){// Inflate the menu; this adds items to the action bar if it is present.getMenuInflater().inflate(R.menu.main,menu);returntrue;}@OverridepublicbooleanonOptionsItemSelected(MenuItemitem){// Handle action bar item clicks here. The action bar will// automatically handle clicks on the Home/Up button, so long// as you specify a parent activity in AndroidManifest.xml.intid=item.getItemId();if(id==R.id.action_settings){returntrue;}returnsuper.onOptionsItemSelected(item);}}
In the OnStart and in the OnDestroy methods we register and unregister from the bus. You have to do it in every class that has a subscribing method. Also you have to add it into the fragments and into the activity, because only the current class is added to the bus. Your message in Otto is a class, also for each type of message we need a different class. For this example I created 2 dummie classes which are FirstItemClicked and SecondItemClicked. Now we just have to send messages from our custom view to our activity/fragment, if your fragment has its own actionbar. Also you have to add this code in your init method in your custom view.
You can run your project and TA-DAH ! :) You have a custom actionbar, that you can change as you want, and the certitude that you will never get a NPE. If you want you can add in paramater of your dummie class constructor some value and get it in your subscribe method ;)